In this article i will go over how to setup your ADFS 3.0 (available in Windows Server 2012 R2) server for OAUTH2 authentication.
A couple of things to note:
- This setup will work for both standalone and farm deployments (including using the WID database). This is because Microsoft build an OAuth Authorization Code Lookup Protocol so that if one server generates the token you can claim it from another in the farm (when using standalone artifact store): https://msdn.microsoft.com/en-us/library/dn409270.aspx
- Make sure you have a basic ADFS configured, there are plenty of guides like this one: https://technet.microsoft.com/en-GB/library/dn486820.aspx
- ADFS 3.0 does not support secrets or token encryption/decryption for OAUTH2
- While OAUTH2 is a standardized protocol i would not call Microsoft implementation a straight forward or standardized solution as there are some specifications.
- If you are using a self-singed certificate please make sure that:
- The Service Communications Certificate has the option of (IsCA = $true), you can use the script from: https://gallery.technet.microsoft.com/scriptcenter/Self-signed-certificate-5920a7c6. This is a must in order for the TLS connection to be established.
- Make sure when you open the certificates in the AD FS console there are no errors
- I have used SHA 256 RSA Certificates and they work great.
!!!Warning!!! – If you use 512 Certificates you will experience issues on ADFS and with OAUTH2.0. You will need to disable TLS1.2 as it doesn’t support 512. You may see errors as show below in the AD FS Admin error log:
Event ID: 36874– TLS 1.2 connection request was received from a remote client application, but none of the cipher suites supported by the client application are supported by the server. The SSL connection request has failed.
Here is some information you will need before we begin:
- ClientID : you can either come up with this or just use a generator like : https://www.guidgenerator.com/online-guid-generator.aspx
- Redirect URI : depending on the application you use and the domain this value will very so please check the application documentation (basically where the browser needs to be redirect after the authentication completes)
- Relaying party identifier: in most cases you will make this up, i recommend using the application domain eg.(https://www.myapp.com)
- The Claims: This would be what values you require to return back to the application, check with the application documentation.
After you are done you will need to make a note of the following things in order to configure your application:
- ClientID
- Redirect URI
- Auth Endpoint : this would be https://myadfs.com/adfs/oauth2/authorize (replace myadfs with whatever domain you have configured)
- Token Endpoint : this would be https://myadfs.com/adfs/oauth2/token (replace myadfs with whatever domain you have configured)
- The public key (the cert without the private key) of the root CA of your Service Communications Certificate. You can export this and add it to your application server Trusted Root Certification Authorities. This is need for a successful TLS communication.
- The public key (the cert without the private key) of your signing certificate. Usually you will need this in PEM or CRT format so you may need to convert it. This will be needed if you or the application you are using needs to verify the JWT token signature (strongly recommended).
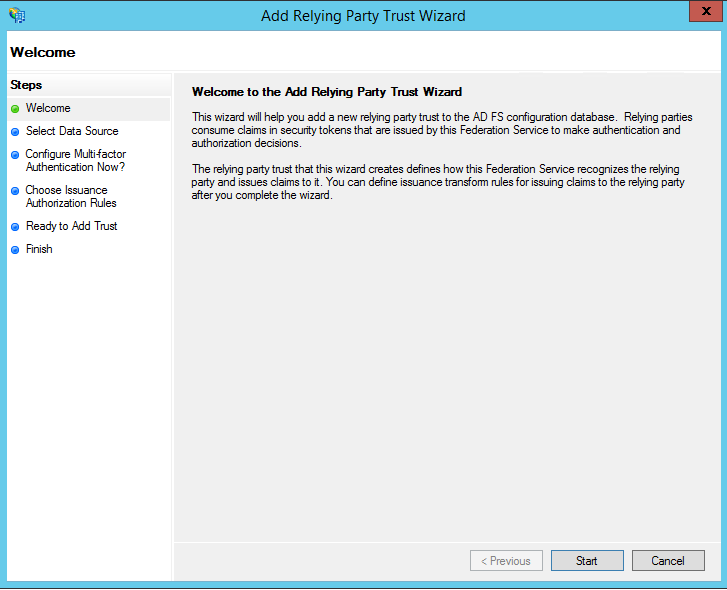
Lets go into our ADFS server console and first configure our Relying Party Trust:


Now give our Relying Party Trust a meaningful name

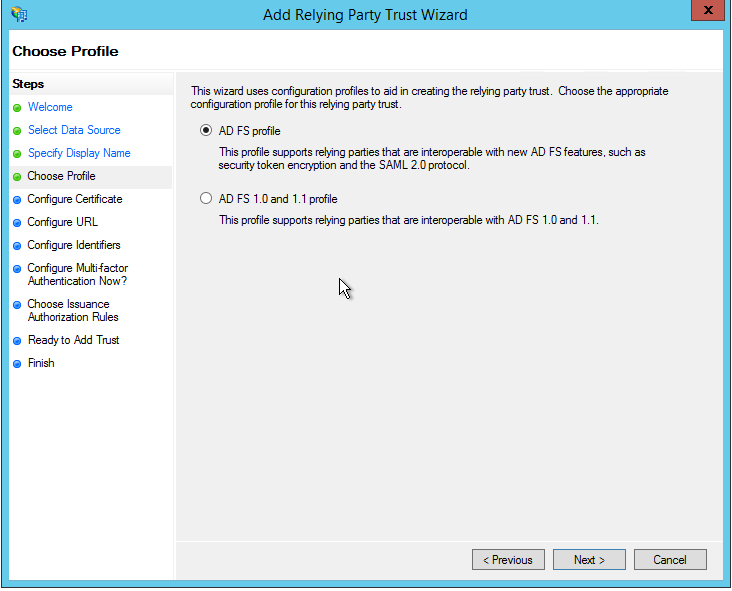
Leave the next section blank as ADFS3 OAuth2 does not support encryption

Again we leave it blank as we don’t use SAML or WS

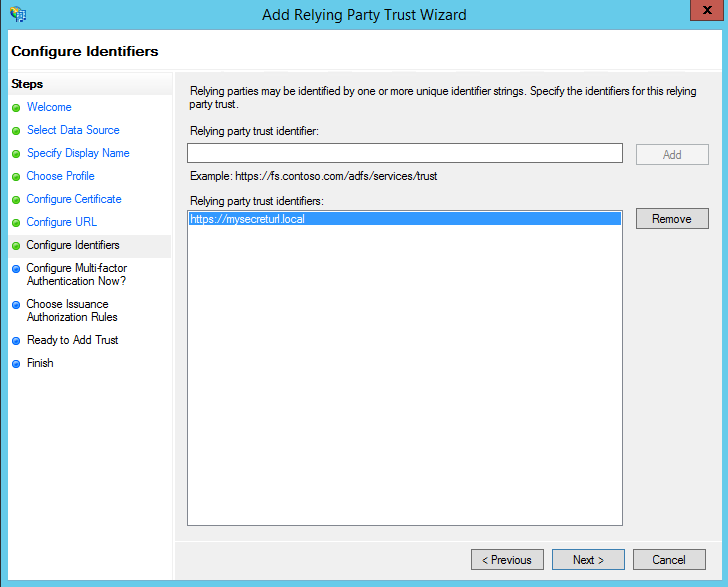
now we need to enter our Relaying party identifier
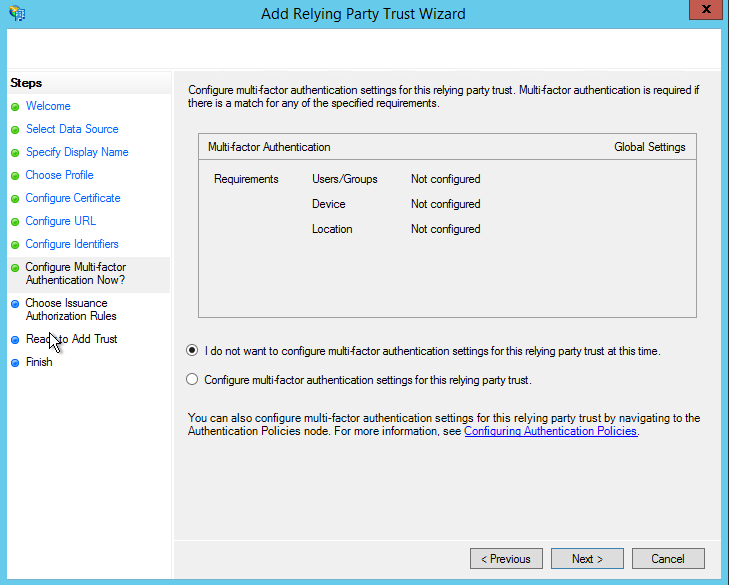
If you need multi factor then configure it if not skip it

Once that is done you can configure your Claims (Issuance Transform Rules) whatever they may be
Once done we need to configure our endpoints and we do this via Powershell with the following command:
|
1
|
Add-AdfsClient -RedirectUri "https://appredirect.local" -ClientId "5d51f771-b86a-419e-ad25-27696eafc02b" -Name "My app entry"
|
We specify some of the variables you collected before hand and then give it a meaningful name
I also recommend you set the option “EnableJWT” to true on the Relying Party Trust you configured by running:
|
1
|
Set-AdfsRelyingPartyTrust -TargetName "My App" -EnableJWT $true
|
And that should be it, you should be able to now use the OAUTH2 function with your app.


