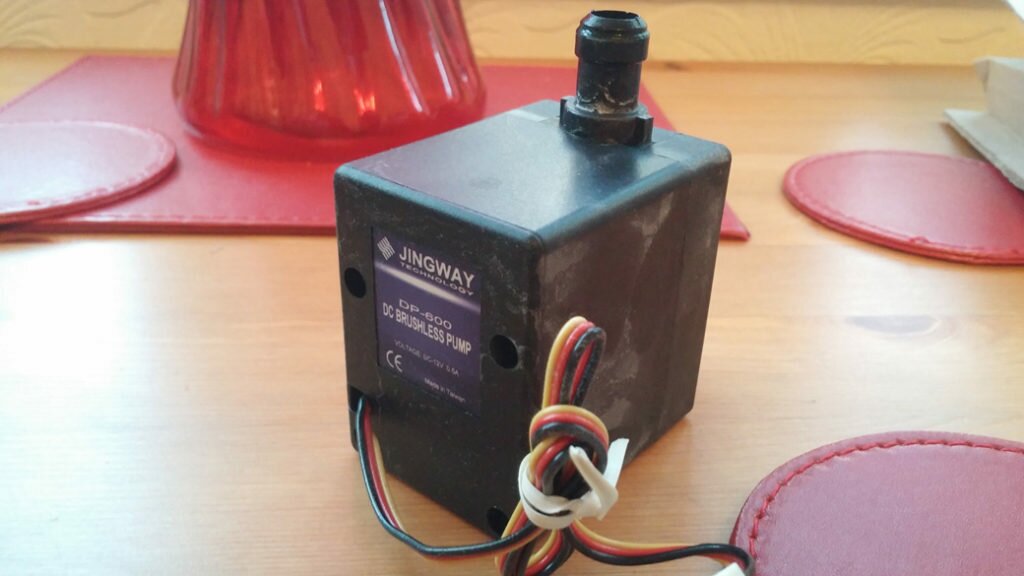
For those of you lucky enough to have brought a water-cooling kit back in the day (2008 :D) when there where just a few choices and prices where very high you probably heard of Cooler Master Aquagate Max. Or if you where lucky enough you actually got one of these bad boys:
Well after 8 years of continues operation cooling a Q9550 + GTX 260 and later on an i7 4790K + GTX 970 the water pump has finally given up and called it quits. I have to say i was very impressed with this product and regard it as one of the best pc purchases i have ever made. Lets face it 8 years of operation and being probably the only part i haven’t upgraded over the years it has stood the test of time and it’s a real shame it’s was discontinued. I never imagined it would last this long and by now i expected it to either leak and destroy my pc or brake.
So i had two options either buy a new kit or replace the pump, i decided to go with option two (because i am sentimental). In this article i will go over what you need while the chances of this article actually helping someone are very remote some might find it interesting.
 So obviously the best option is to buy a direct replacement, the original kit is powered by a S-Type Jingway DP-600 which delivers 520L/H which is very quiet and long lasting :D. The good news is the company still operates http://www.jingway.com.tw/en/products.html and you can buy the pump, now me being me i couldn’t wait for the shipping from china given my computer was out of action and decided to do this the hard way and get a different pump.
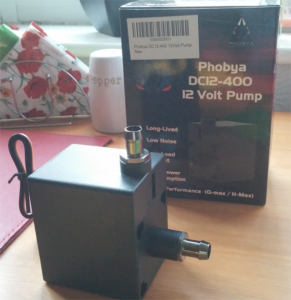
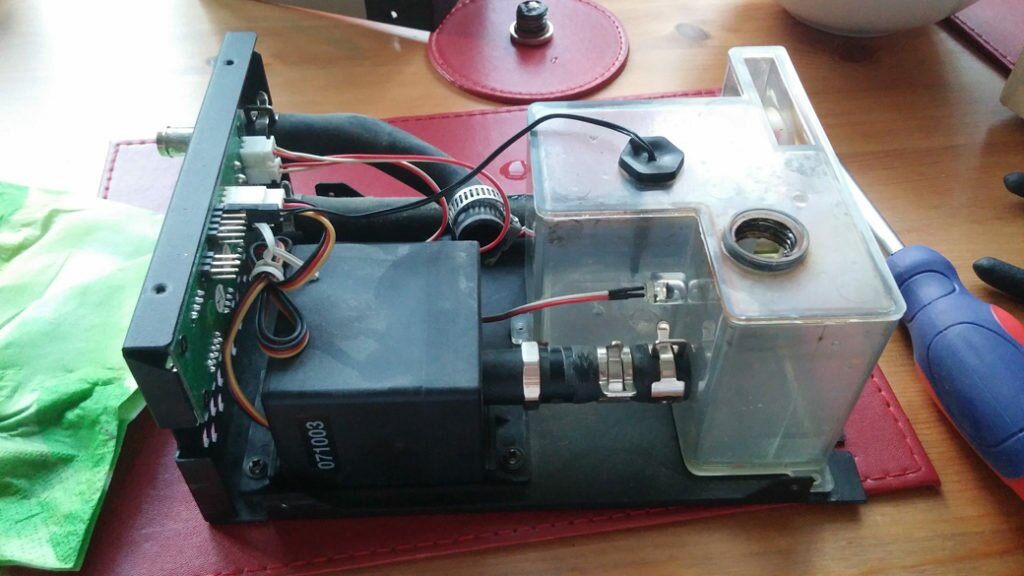
After some searching i found out that the Phobya series are the best replacement and there is a good reason for this, it seems it’s either a sister company or they have brought the designs from jingway. Now if you want a perfect fit go for the Phobya DC12-220 (400 l/h), which will fit nicely in the gap i however decided to go for the more powerful model the Phobya DC12-400 (800 l/h). One note to make is that i am not entirely happy with the Phobya DC12-400, it does cause a few vibrations and being in the metal case produces a lot of noise at 100% power, so much so that i decided to plug it into the mother board and run it only at 50%. At this speed you can’t hear the pump at all and still keeps the temperature quite low. One very important note you will also need to purchase two G1/2″ to 3/8″ Barb Fitting, do not make the mistake of getting G1/4, while the tubing on the outside is 1/4 the tubes used inside the box are actually 1/2. Don’t worry if you make that mistake as i did 😀 you can stretch a 1/4 tube and get it to fit as show later in the photos, i was lucky enough to have one spare G1/2″ to 3/8″ Barb Fitting so only need to stretch one tube the clear one.
Before:
After:


